Showing posts with label Paint. Show all posts

Friday, March 22, 2013

Happy First Birthday

Hello, I have been very busy this week. 

I was also computer free for a bit. It wasn't a challenge or anything. Ok, it was a challenge, but I didn't GIVE the challenge to myself. My son who slobbers on anything semi-interesting kept nabbing all of my electronics cords and finally shorted a few of them out. Of course they were my mac and iphone cords because that's just how life works when you aren't ready for it. Right? Right. 

I have been busy working on my daughters spring outfits. I finished drafting and creating the first sleeveless button up. Now I've moved on to the first pair of knickers. I plan on making a couple of each of them, since they definitely fit my style. 

Also, it was my son's first (FIRST!) birthday on Wednesday. Ugh, I was just falling apart the morning of. Crying, sad, and completely feeling like I had lost my baby. Today, I feel a little better. I still don't want him to grow up yet but I'm taking it slow and trying to spend extra time snuggling and playing with him. I also need to buckle down on his baby book.  I keep *making it a point* to do all of these things. 

Monday, March 11, 2013

First plush pony

Hi guys! Last week on k.i.d.s. there were so many awesome kid inspired ideas. I loved watching the children draw something to be created. So, i had lily draw me what her perfect lily style my little pony would be.


Monday, February 25, 2013

Screen Printing ZIpper Bags

If you feel like my content is random, you're right! 
I'm nearly always moving from one form of art to another in a ... well frenzy of thought. 

As you may remember, at Christmas time I was all about making zipper bags as diy gifts. I totally LOOOOOVE them& how quick and simple they can be. There's a never ending amount of ways you can make them your own.. this being my new favorite. 

Screen printing!

Freezer paper rocks, right? Personalized stuff too? 
Yep& yep. 

Wednesday, July 4, 2012

1 WEEK OF ONSIES: Day 1

HI! So glad to be here showing you guys some AWESOME onesies I've been working on recently. I have been making SO many, that I've decided to call this week:

1 Week Of Onesies

First off is a super simple onsie I made for my Little Man:


Saturday, June 23, 2012

Fathers Day& Photo Frames

Hi everyone! What a gloomy quiet Saturday we are having here in Iowa. I'm updating with a few recent projects, first up is the Fathers Day t-shirt I helped the kids make dad this year. 

I love love love using freezer paper to make my own screenprints. If you haven't heard of this technique, you need to check it out. I also made Archer boy a onsie of pictures that Lily drew for him:: an idea I picked up from Delia Creates Blog. Lovely blog she has over there! 

You will need:

Freezer paper
an Xacto knife
Permanent Acrylic Paint 
Foam Brushes
Iron/Ironing Board


Monday, May 21, 2012

Graduation Card

I was checking our calendar today (the only way I can stay organized: writing things down!) ... only to realize that early next month my husbands cousin is graduating from high school. We are planning to attend the graduation party& I thought I should create her a card to be prepared. On their invitation it mentioned that the class color was purple; so I created a fun card using purple elements. 

Tuesday, January 31, 2012

January Layout

Lily's January Layout :: 
I really liked a layout KP created ... She does amazing work that I just love her use of pictures and the smashbook style work she does at times. 


Lily and her little cousin Aubrea. The just adore eachother,  its
the sweetest thing to see. 

Monday, January 16, 2012

Baby Girl Mini Album

This is by far my best album made from scratch: by scratch I mean creating the cover, binding, and pages rather than buying pre-made elements and adding only the paper/embellishments. 


Here is the front of the book with only paper.

Saturday, January 14, 2012

Watercolors

I've been playing around with Watercolors for this Valentines Day. Mostly because I am always curious about how to expand my skills and to think outside the box in terms of scrapping. LOVE to incorporate lots of different styles into my work!

Here's what I've been up to:

This is a quick sketch I did to try and see how it would work to use a white pencil to resist
the watercolor crayons I have. 

Friday, January 6, 2012

G45 Once Upon a Springtime Layout


Ah finished my layout! 

This particular layout was made using G45 Once Upon a Springtime Paper. I was able to check another To Do off my January list because this particular LO is for my HS Scrapbook. 

6a00d83495455153ef0133eda32469970b320wi.jpg

This is the template I used from CCL. 

There are SO many crafting materials I haven't had a chance to work with. Grungeboard was one of them until this project. Used his pre-cut set to add some pretty embellishment. 


I really liked the lines in this template. I fussy cut this cute little fairy instead of going with the butterflies. 


Also, chose to use fussy cut flowers instead of butterflies. Although, butterflies would have also worked quite well. I inked all of the edges of my paper with Vintage Photo Distress Ink. It is by far my favorite for edging, though I also like to use Tim Holtz black Distress ink at times too. Next purchase? Walnut Distress Ink. Its a bit darker than the Vintage Photo and I think it would work nice. 

I used Stickles in Diamond to highlight my splatter paint, it added a bit more bling. Also used it inside all of the flowers, on the wings of the tiny fairy, and on the '05. 


I like discussing lessons learned when doing this. Todays? Test the color of my paint against the papers I'm using. I would have like my splatter paint to be less pink and more peach. 


Thursday, December 15, 2011

Scrapping

Over at "Creating the Crafty Life" they post weekly challenges. This week I've been having quite a bit of fun working on them. 

This first one was the card challenge. 

On this card I worked for the first time with a mask. Although its a bit hard to see you can see it peeking from behind the images on the right. I will say, I didn't feel like they stuck as well as I expected. I had to ink quickly and keep smoothing it down. User error or design flaw I'm not completely sure. Can you see the little photos inside the glass pieces? One says Holiday Wishes, the other is a candle. Glossy Accents really adheres the paper to these well. It only takes about 5 seconds and I can cut!


This was the color challenge. We were able to create anything using the color burgundy, which was really fun. I am really enjoying how CCL incorporates lots of different people who enjoy crafting. For example (jewelry making, clay creation, scrap book, needlework, etc). So even though I entered a tag, others will create something completely different. 

USED: Graphic 45 Christmas Emporium papers, white acrylic paint dabber (for snow drift), Rock Candy Stickles, pop up foam pieces,  and of course my favorite Tim Holtz Distress Ink in Vintage Photo. 


 The Layout Challenge

Though I've done the other two challenges in Christmas themes, I found that I was leaning toward an album I've been working on for quite some time. It is mostly filled with senior photos and high school memorabilia form my cheerleading days, but I had senior photos that also needed to be included. Did I mention this is also my first run at embossing? I used Tim Holtz Distress Ink in Broken China and it really made a subtle/dainty difference to the layout. 

Lots of pretty flowers from Iamroses. I have grown quite fond of using these. 

Picket Fence cut from the Monsters cartridge on my Cricut. Its really suppose to be a bit spooky but with some white crackle paint and Tim Holtz Distress Ink in Vintage Photo, it looks much more whimsical.


Sunday, December 11, 2011

Homemade Christmas Pt2

As I said before, I  certainly love making my gifts custom...
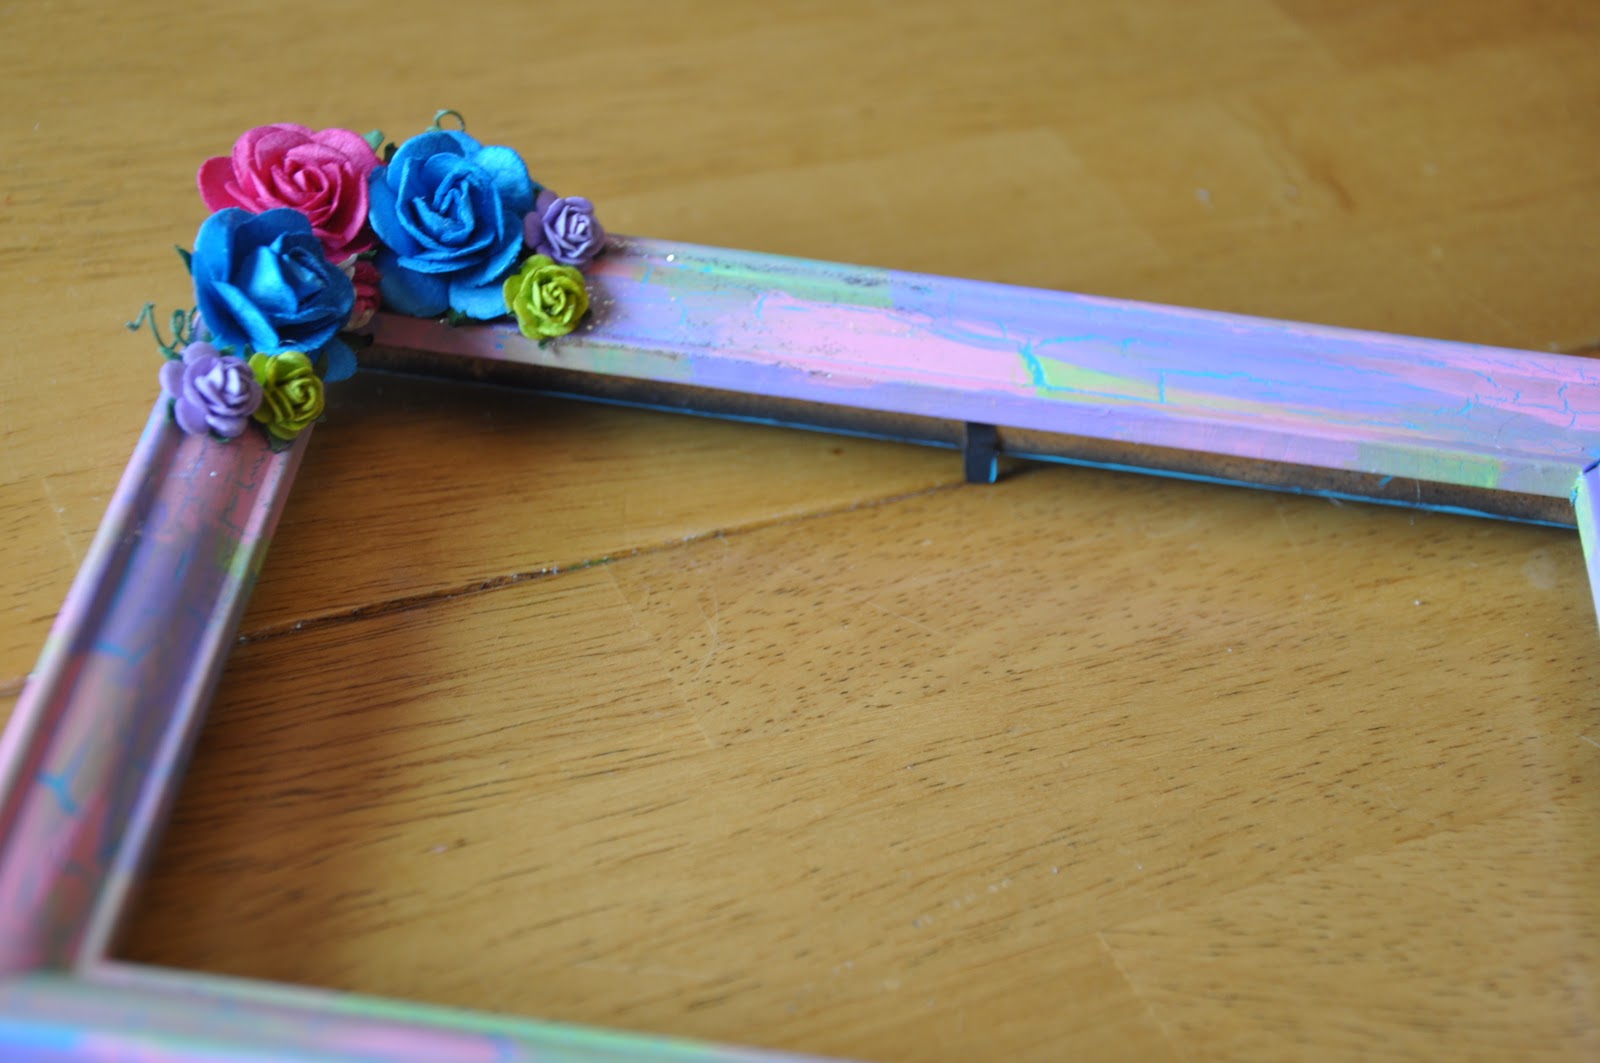
This particular frame is a christmas present for a friend who has a very bright&colorful personality. She enjoys hoola hooping, has been involved in many charity events for children, & has a super big heart. 

For her frame I chose a blue base of acrylic paint, then crackled the multi-toned topcoat using Martha Stewart crackle.  


A close up of the crackled effect. 


A CLOSER close up. hehe
Love how that blue came through.

I got a nice package from I am roses this week. After witnessing the gorgeous work of a truly great crafter // katie from Memories to Keepsakes, I wanted to check them out. Lovely product and great customer service from this company. I would certainly recommend them!


I also used some silver stickles in the flowered corner...


This frame came out lovely. Its very simple and bright. If I find a pretty butterfly before wrapping time, I'll definitely add it. 

Saturday, December 10, 2011

Personalized Birthday Presents//

Happy Birthday to a wonderful young lady I know, Mk. She's my daughters older half sister. So, the big 12! I must say this age puts me in my place. I was a bit stumped on what to get her. She's an edgy girl, I wouldn't say a tom boy but definitely loves skulls and chucks and skateboarding. 

First I made her a winter headband. I had made one for lily, which she seems to enjoy quite a bit. 


This time I used freezer paper to customize the headband with her nickname. A little E6000 and rhinestones jazzed it up.

On the inside I lined it with skull fleece. 


I went a little bit more girly with the bag, I would call this my decoy. She probably thought I got her a bunch of skirts&bows.   :)


A close up of the tag. 


I found a super awesome wallet on this blog ... it features the old school cassette tape. I am proud to say that even in high school i loved making mix tapes! 


I didn't photograph the inside once it was finished but its lined with felt. How awesome is that though?
Once again used E6000 to put bling on it. I was thrilled to discover the gems fit perfectly into all of the holes where the screws were. 


She was really excited and started putting all her birthday money into it. A good indicator I think. 


Monday, December 5, 2011

Photo Frame Christmas Gifts

6a00d83495455153ef0133eda32469970b320wi.jpg
Custom Frames 
I used:
Acrylic Paint 
Martha Stewart Crackle Paint
Modge Podge 
Old book pages
Recycled Scrabble Tiles
E6000
Tim Holtz Distress ink in Vintage Photo

Sunday, October 16, 2011

Halloween Pumpkin Carving and Painting

6a00d83495455153ef0133eda32469970b320wi.jpg
So goes the first blog using a terrible cell phone for my camera, I truly hope this doesn't have to continue. After last weeks visit to the pumpkin patch we decided that this weekend we should use the many pumpkins/gourds that were purchased. We were all tired of them sitting on the kitchen table. 


Sunday, October 9, 2011

Memories/Costumes/Crafts of Halloween Past


Since I sadly had to turn my camera back over to Nikon for repairs, its gone for a stint of time. Hubby and I went shopping for a cheaper one to use as a backup- plus when I'm going to a concert I risk hiding it and losing it to security. Who knows if it would come back in one piece. So, we've got our eye on one that is suppose to go on sale, and then my blog can be back in action. Till then: RECAP on past Halloweens

Thursday, September 22, 2011

Halloween Cont. & More

As promised I have returned with updates on Lily's Little Mermaid costume. Again, I am so glad I started this project early. I've had so much  fun finding cheap and interesting ways to make this a one of a kind instead of another patterned blah piece. I wasn't too fond of using a pattern in the first place, but I couldn't see myself successfully creating my own without it turning into an extremely expensive ordeal. Someday my financial supplies will allow for more creativity/trial and error/etc. Anyways.... off of that tangent. So at my visit to the Goodwill I discovered a 5 cent bag of seashells, what luck! I used these to glue to her dress and the crown I picked up on clearance at Target.


6a00d83495455153ef0133eda32469970b320wi.jpg

Sunday, October 3, 2010

My Favorite Snow Day

I was thinking of what my family will do this winter for snow days... I guess you would need some background to follow this train of thought. My fiance and I own a house in Des Moines and on rainy days we would pull out old paint or other fun things and spend that day working on our project.  Now of course, we are renting in our new city and looking for a new house to call OURS. Unfortunately that wont be this winter and we will really have to start getting creative with these snowy day projects. Heres my most favorite from last year, we got the idea to paint my daughters room then ran with it!


6a00d83495455153ef0133eda32469970b320wi.jpg
the beginning of the ceiling